The biggest obstacle to launching your business online is, well, getting it online. Oftentimes it is preferable to have your own online storefront, as it allows you the greatest control over carving your brand and deciding your competitive edge.
These days, if your business follows some pretty well established business models (e-commerce, brochure, portfolio, etc.), it’s really not necessary to fork over hundreds of thousands of dollars–or even tens of thousands–to a development firm in order to get your website built.
That’s right: without a lick of coding experience, you can have your online store built in no time. It almost sounds too good to be true, so let’s break this down step-by-step to get your store started together.
1. Buy a Domain
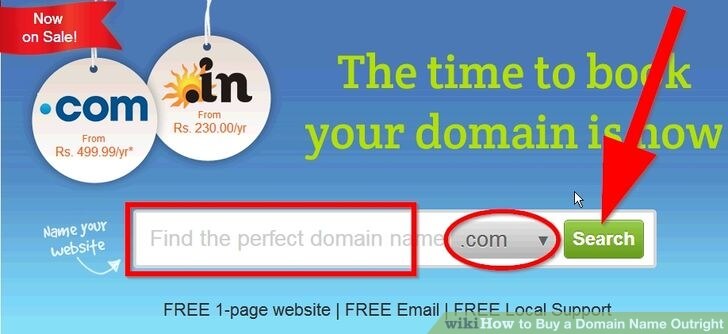
This step is mostly straightforward, but there are some considerations to keep in mind, particularly for SEO. You can do one of the following:
- Buy a domain that is already established and has some “link juice.” Typically you would find and buy these from a site like flippa.com or sedo.com. There can be value in having some historical data to help you launch your business with a bit of a boost. However, there can be some major problems with this approach, such as buying a site that has been penalized for spammy link building in the past or has otherwise been breaking the rules, so to speak. You’re better off starting fresh than getting caught paying a lot of money for an unexpected mess.
- How do you avoid the mess? Demand access to the site’s Google Analytics and Google Webmaster Tools and look specifically at their google/organic trends over time. Notice any major dips or long-term fall-offs? Question everything you find. Ask what kind of SEO efforts they’ve undergone in the past with this domain and research those methods on trusted sources such as Moz or Search Engine Watch.
- Buy a fresh, new domain. This option will let you start out on a clean slate, but it does mean you’re starting on square one organically. You’ll have to wait several months for a slow build of free traffic, and you’ll need to focus early on a good content strategy to make sure you get good quality traffic long-term.
2. Choose Your Content Management System (CMS)
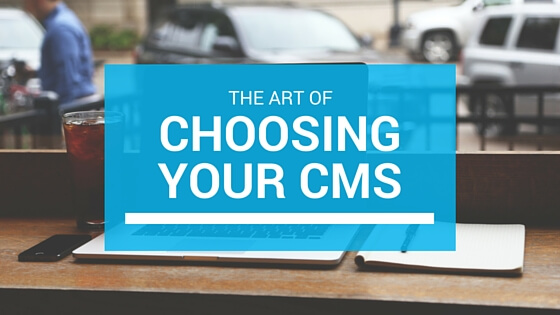
The right CMS makes all the difference in day-to-day maintenance of your online business. The key is to look for a solution that provides the most that you need out of the box before you have to pay for a bunch of add-ons to get the website fully equipped for your business.
Keep in mind that when choosing your CMS, you need to consider how your website will be hosted. WordPress, Squarespace and Shopify are a few CMS solutions that will handle the hosting and content creation all in one nice package. This is often the best way to go as a business without a web developer on staff, since it keeps everything tidy and there is less integration involved on your end.
If you are building an e-commerce website, consider which payment gateways you will be using. Stripe? PayPal? Amazon? A combination? Check out how these integrations work on each CMS. For WordPress, you must integrate Woocommerce with your site in order to sell products. Shopify makes selling a little easier by being an e-commerce CMS out the gate. The same is true for Squarespace. The add-on app sphere for Shopify is quite a bit more extensive than Squarespace, so if you’re wanting an e-commerce solution with several marketing add-ons, review both app stores first before committing.
For extra guidance choosing the right CMS, review udemy’s short guide to best content management systems.
3. Use a Website Template
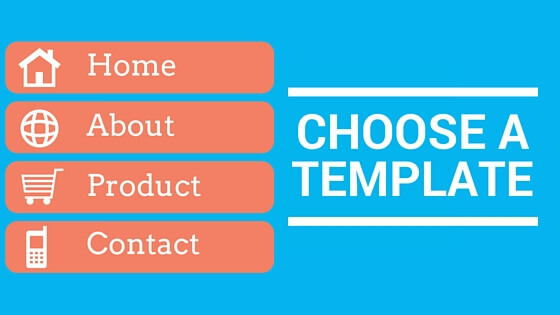
Using a template will greatly expedite the website build process. Now that you have chosen your CMS, you are all set with your plot of the internet and it’s all ready for your shop. The closer your template looks to how you’ve envisioned your online store, the less visual modifications you will need to make.
After you download a template, you will have a template upload option in your CMS. Once uploaded, most CMS editors will allow you to personalize the template to match your company colors, typography, imagery, and more. Walk through the theme editor options to make sure you’ve made all necessary changes your shop needs.
4. For E-commerce, Research Supplier Integrations
If you’re selling products on your website, you’ll need to connect your orders on the site to your fulfillment center(s).
For the lowest startup costs, dropshipping is the easiest way to sell products since you are not required to manage any of your own warehouse space. Shopify has great integrations for dropshipping, unless your dropshipper requires FTP integration. Check on the logistics of dropshipping with your suppliers and speak with a representative at your CMS company to find the best solution for integrating.
If you have your own warehouse(s), you can typically get away with simply forwarding the order to your fulfillment email account. Each e-commerce CMS solution should accommodate these methods, so be persistent talking to support teams about your options!
So, to keep this process extra simple:
- Write down ALL of the features you want on your website to see which solution has MOST of these right out of the box and in their plugin/app store BEFORE you commit to a CMS or to a website template.
- Consider how, where, and at what expense you want to host the website.
- Consider your payment gateways.
- For e-commerce, find out your order fulfillment requirements.
Case Study
Most of my experience is with digital marketing, but I have some collegiate training in web development and experience building my own blogs in the past. I took a leap recently and tried my hand at launching my own e-commerce business, which is something I had never done but had professionally managed and observed in an agency setting. With my endeavor being self-funded, I wanted to find the cheapest but most robust method for getting my retail site online.
I ended up choosing Shopify because my business is 100% dropship. I pay less than $90 per month for Shopify’s hosting and CMS management, and I don’t pay anything for inventory. My business partner and I researched which items we wanted to carry and contacted the manufacturers to find out which suppliers sell their products. From there, we whittled down the suppliers to those who offer dropshipping.
Our website sells cat products, so I chose a Shopify template specially made for online pet stores. This ensured that I was essentially getting everything out of the box that I needed to get up and going. I only had to download a handful of Shopify apps, but they were all due to admin and marketing preferences and not due to a lack of functionality on the template itself.
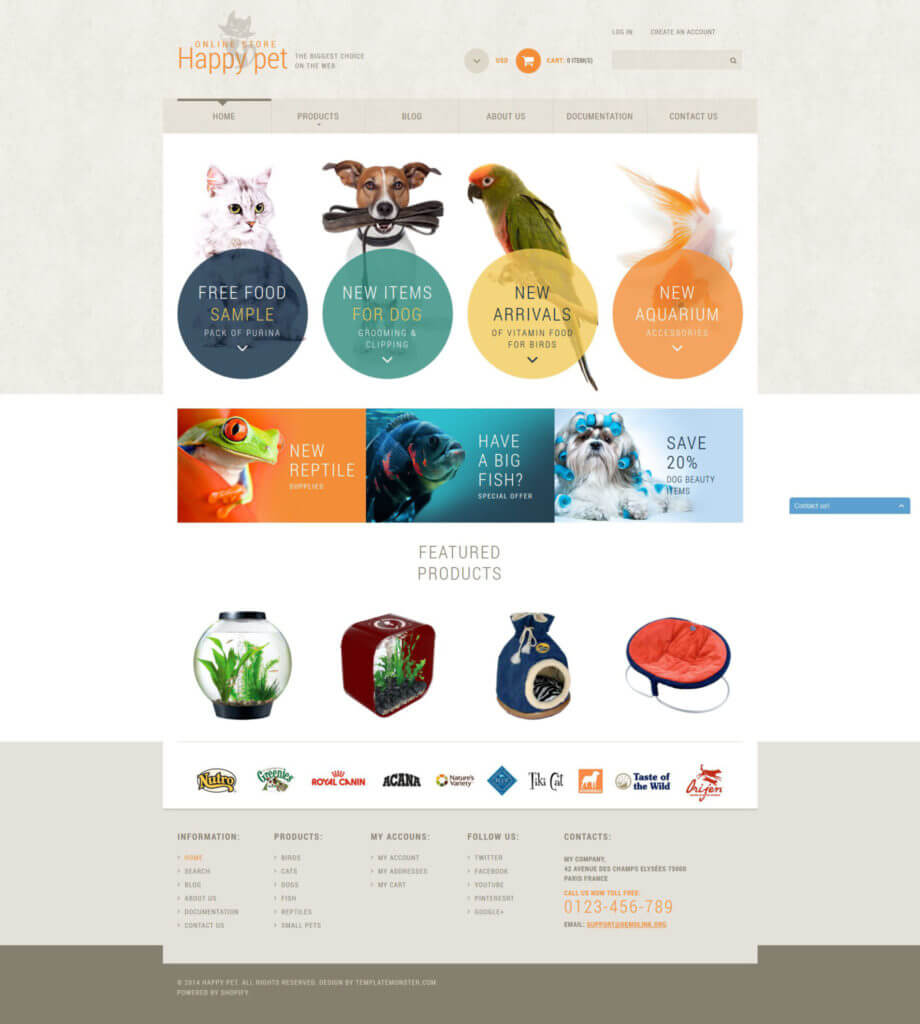
This is the Pet Store Shopify template we chose due to it including all of the necessary components and functionality we needed. We modified the look and feel heavily in order to match our own brand.
It isn’t always necessary to choose a template that is intended for your specific industry. It made sense for us because some of the brands we carry have requirements for how we display them on our website (such as featuring them on the homepage), and our template was already equipped for these requirements.
Once we had Shopify all set (which is as simple as signing up!), and once I had downloaded our template (which, again, is just a matter of purchasing it), I was able to upload my theme to my Shopify admin.
I was in business. I went through my theme settings and made all of the changes I wanted to fit my brand.
Once we had our fulfillment accounts set up with each supplier, they sent me their spreadsheet product feeds, which I had to alter to match Shopify’s CSV product feed requirements. This can be a little tedious at first, but it is very simple over time if you create spreadsheet templates for each supplier (feel free to contact me if you want a little guidance with this step).
With a simple click of an “Import” button for my products, I had hundreds of products on my site ready to sell. This is the beauty of a product feed.
Shopify uses Stripe as its fully integrated payment gateway, so all I had to do was create a Stripe account and connect my business bank account to it. I also want to accept orders via PayPal, and Shopify had a preset integration for me to connect my existing account here as well. This whole process was done in a matter of minutes.
Choosing the payment gateways I want on my store was as simple as clicking “Activate” and linking my accounts.
With just a few basic steps, I had a real, live website. It took several weeks to finalize everything because part of our differentiator approach with our business is to provide educational materials about domestic cats. It took time to build up that library of content, and we also wanted to change a lot of product descriptions to match our mission better. Most of the work was a matter of fine-tuning rather than heavy-lifting to make the site fit our every need.
Ready, Set, Go.
It’s time for you to take the leap and start that online business you’ve been dreaming about. As I’ve shown you, it can be done on a low budget, and it only has to be as involved or tedious as you make it. This kind of project can easily happen as a side project for anyone with a full-time job. Hold onto your money and save it for marketing once your site is launched. There is no need to dig into debt or get tied up in investor obligations right out the gate. You’ve got this.